Extracting checklists from Bear notes with Swift
Bear has been my favourite writing app both on iOS and macOS for the past 6 months. If you’re looking for a reason to switch to Bear, I covered what I loved about it on Twitter. Instead, let’s talk about a tool I made to extend my use of Bear: TeddyList.
In this post, I’ll cover my Bear workflow and the reason Why I ended up creating this tool.
Bear is currently available for iOS and macOS.
My Bear workflow
The biggest issue I’ve had with previous writing apps has been finding a way to organize my content. As I kept thinking of a better way, I ended up with markdown files everywhere: DropBox, Google Drive, iCloudDrive…
Bear doesn’t care about your filesystem and manages your notes for you. This allows me to start writing without thinking about where to put my text.
I only export my note once it’s /ready/. Before that, I use the checklist feature to list all the things I need to do, like adding the missing links, finding an example or a good header image to use.
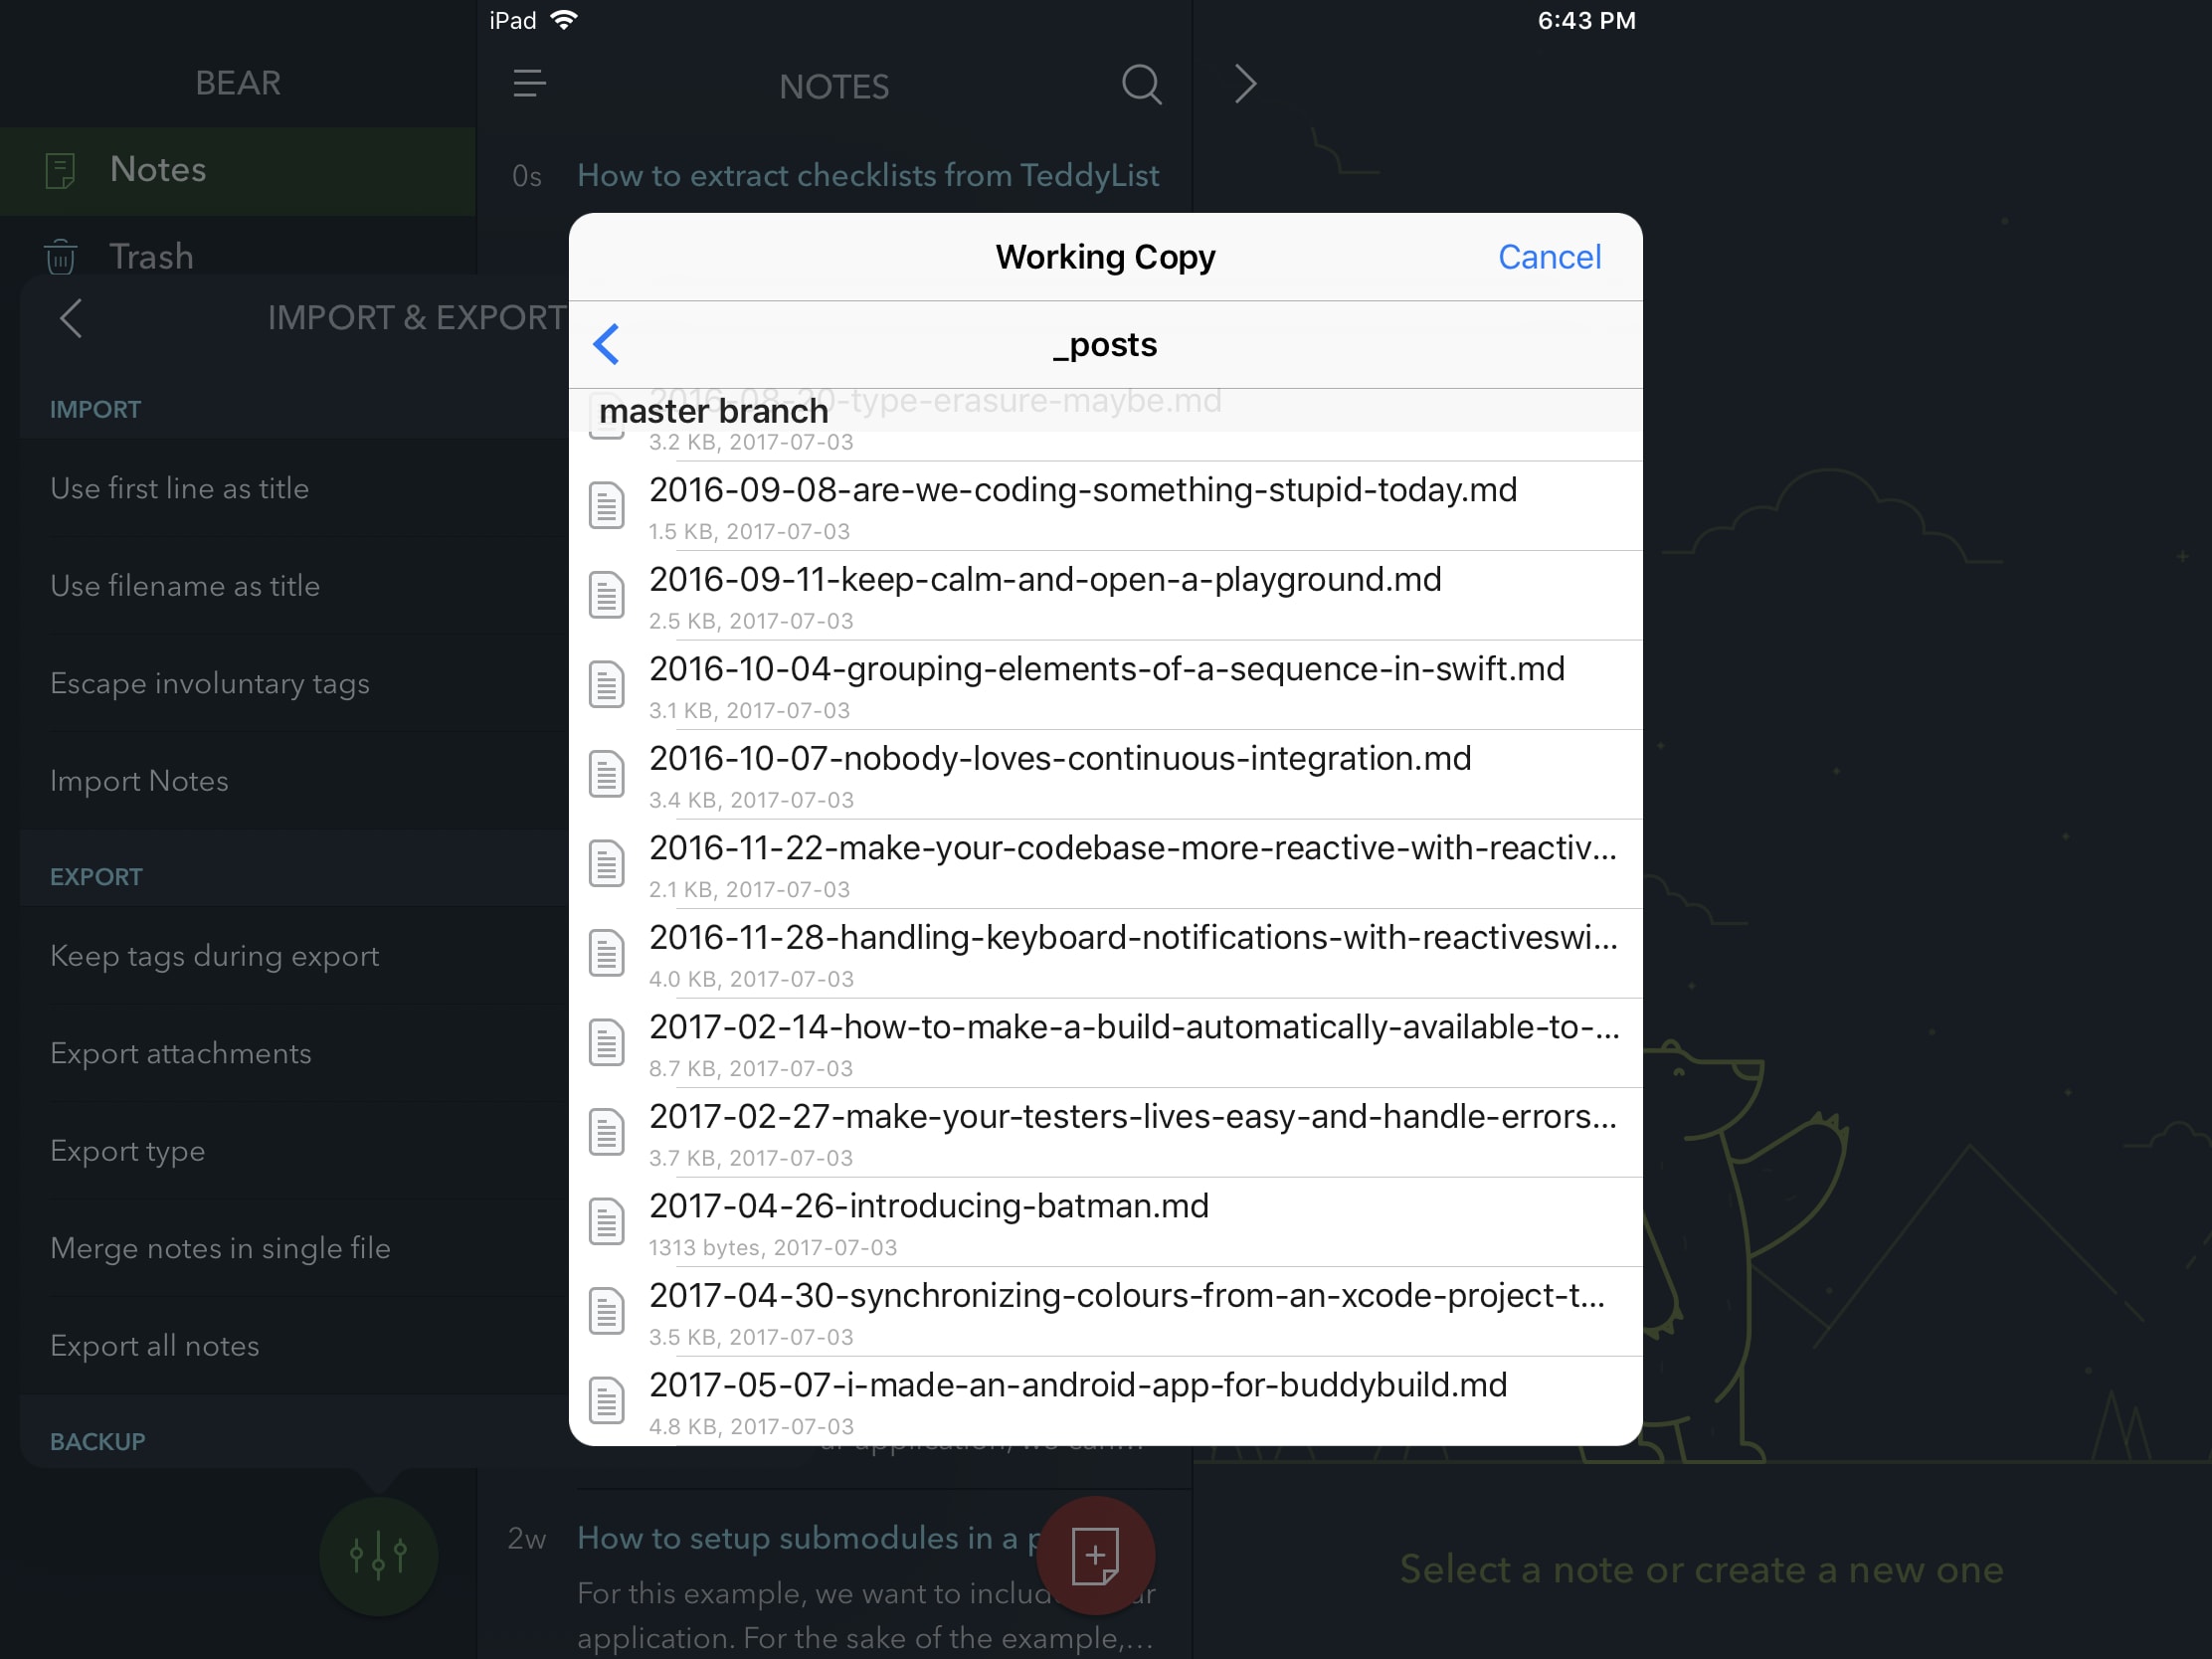
Once I feel the note is done, I simply delete it from Bear because I don’t want to duplicate the content. It might get confusing and I don’t want to end up editing a blog post in Bear that I may have changed in my blog’s repository. When I need to make changes, depending on the amount of change required, I simply re-import the note into Bear or edit directly on GitHub or using Working Copy.
This workflow has been working well for me so far, as I’m doing most of my writing with Bear these days. After seeing BearNanny, a fun experiment to run code snippets on your mac, I realized I could use the same approach to list my checklists.
Introducing TeddyList
I mentioned it earlier: Bear does not care about the filesystem and manages your note for you in a local database. This is what makes it easier to retrieve the content from all the remaining notes.
Installing TeddyList is easy and will be easier once I’ve created an Homebrew formulae. In the meantime, you’ll need to build it yourself and here is how:
- Clone the TeddyList repository
- Run the
make installcommand - Wait a few minutes
In other word:
git clone git@github.com:Palleas/TeddyList.git
cd TeddyList
make install
Then, run tdl --help to make sure it works:
TeddyBear v0.1
==============

Parse your Bear notes and list the todolists.

Usage: teddylist <command> [<args>]

Run teddyList --help to print this message.
Or run tdl to list all the remaining checklists:
How to extract checklists from TeddyList
========================================

🅾️  Add missing links
🅾️  Find an image to use as the header
🅾️  Update installation instructions with proper git URL and output
🅾️  Update `tdl —help` output
🅾️  Add link to the tutorial≥
🅾️  Add links to inspiration blog posts
TeddyList is available on Github under the MIT license.
Conclusion
As iOS and Mac developers, we tend to write all our scripts in either Ruby or Bash. I was eager to start using Swift to write scripts because Swift is the language I enjoy the most these days. The tools are not quite there, so it can be frustrating at times when the Swift Package Manager won’t build your project and you’re not sure why. That said, writing this tool was a pleasant experience.
If you are interested in using Swift to write scripts, I strongly suggest you to check Marathon, a tool by John Sundell that takes care of most of the heavy lifting for you.

